Water damage doesn’t give homeowners time to think. Whether it’s a burst pipe at 2am, a washing machine line failure, or floodwater pushing through your front door, the decisions you make in the first few hours determine how much of your home and belongings you actually save – and how large your final restoration bill turns out to be.
After 15 years restoring homes across Hollywood and the greater Los Angeles area, our team has seen every variation of post-water-damage decision-making. The homeowners who come out best are the ones who follow a clear, sequenced checklist – not the ones who panic and start pulling up carpet without thinking.
Here is that checklist, step by step.
Step 1: Stop the Source Before Anything Else
Before extraction, documentation, or calling anyone – stop the water if it is still running.
- Burst pipe or appliance failure: Turn off the main water supply valve. In most California homes this is located at the meter on the street or at a shutoff behind the appliance. Know its location before you ever need it.
- Roof or window intrusion: Cover the opening with a tarp or plastic sheeting to stop active inflow during rain.
- Sewer backup or toilet overflow: Do not use any plumbing fixtures in the home. Shut the main supply if needed.
- Flooding from outside: You cannot stop the source – go directly to Step 2.
A water damage restoration team cannot outpace a still-running source. Getting the supply off is the single highest-leverage action in the entire event.
Step 2: Make It Safe Before You Enter
Standing water in a home is not just a moisture problem – it is a safety problem.
- Electricity: Turn off circuit breakers for any area with standing water before entering. Never assume the power is off because a switch is in the off position.
- Gas: If you smell gas, leave immediately and call your utility provider from outside the home.
- Structural safety: Check for ceiling bulging (sign of trapped water above), leaning walls, or any visible foundation cracking before walking through the space.
- Contamination: If the source is a sewer backup, toilet overflow, or outdoor flooding, Category 3 water events often require professional sewage cleanup and sanitization procedures. Wear rubber boots and waterproof gloves before any contact.
According to the CDC’s guidance on flood safety, floodwater exposure carries risk of gastrointestinal illness, wound infection, and chemical contamination – particularly in older urban areas where storm drainage and sewage systems can combine during heavy rain events.
Step 3: Document Everything – Before You Touch Anything
Your insurance claim is only as strong as your documentation. This step takes 10 minutes and can be worth thousands of dollars.
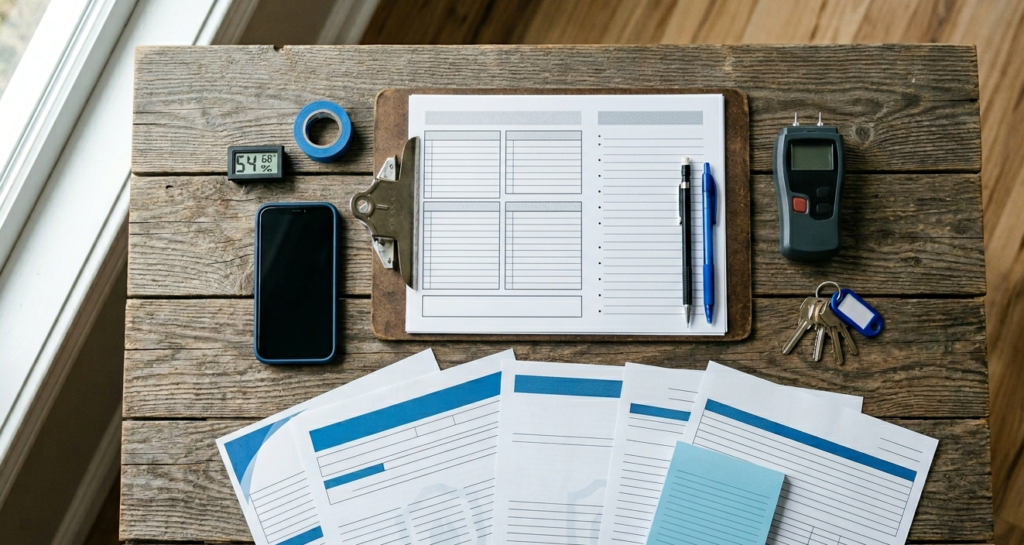
Walk every affected room with your phone camera and capture:
- Water lines on walls showing how high water reached
- All damaged flooring, furniture, appliances, and personal belongings in place – do not move anything before photographing it
- Visible structural damage: ceiling stains, buckled floors, blown windows, compromised drywall
- The source location: the pipe, the appliance, the point of entry
- The exterior of the property: gutters, roofline, foundation, landscaping
Email the full photo set to yourself immediately – this timestamps and cloud-backs your documentation in one step. Then call your insurance carrier and open a claim before any significant cleanup begins.
Step 4: Call a Certified Restoration Company – Don’t Wait
This is where most homeowners lose time and money. The instinct is to start cleaning up yourself – renting a wet-vac, pulling up carpet, opening windows. These actions are understandable, but they don’t match what professional equipment can accomplish.
A truck-mounted extraction unit removes water at 10–20x the rate of a consumer wet-vac. Industrial dehumidifiers pull moisture from wall cavities and subfloor assemblies that a box fan will never reach. Every hour of delay between a water event and professional extraction increases the total drying time required – and the cost.
The IICRC S500 Standard for Professional Water Damage Restoration defines the industry baseline for extraction, drying, and documentation. Any restoration contractor you hire should be IICRC-certified and able to provide daily drying logs from day one.
Response time requirements vary by climate. In Southern California’s dry climate, the mold initiation window after a water event runs 24–48 hours – giving homeowners a slightly longer response window than humid markets. In high-humidity regions like the Southeast, the Gulf Coast, and the Great Lakes states, that window compresses significantly. Certified providers handling water damage repair Cleveland OH, for example, operate on tighter response timelines because Northeast Ohio’s climate – combined with seasonal freeze-thaw events and lake-effect moisture – accelerates secondary damage faster than most of the country.
Fast emergency water damage response helps limit structural damage and reduces the risk of mold growth.
Step 5: Begin Extraction and Structural Drying Simultaneously
Once a certified team is on site, two processes run in parallel:
Extraction removes all standing and surface water using submersible pumps and wet extraction tools. This phase is complete when no visible water remains – but the job is far from over.
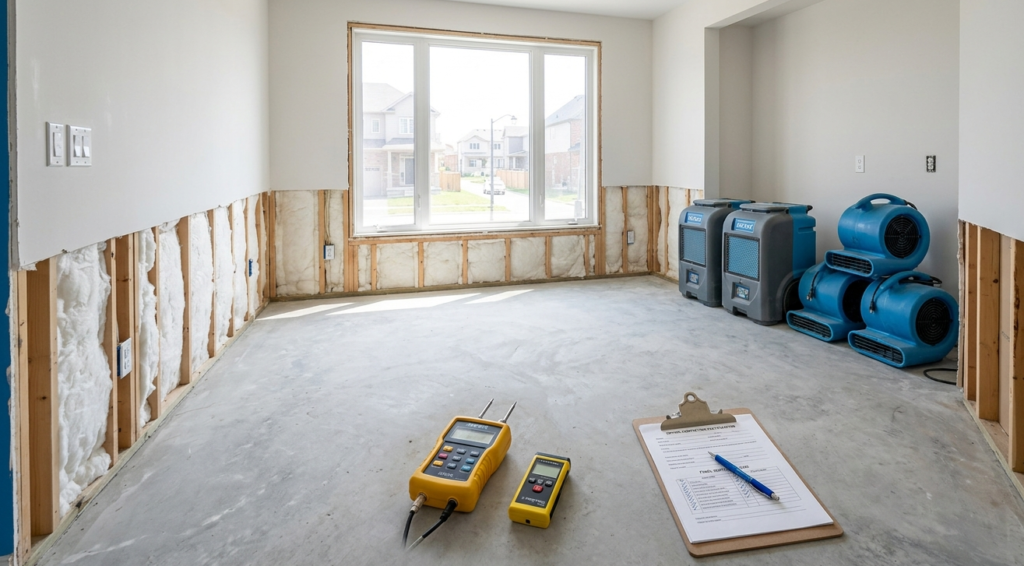
Structural drying addresses the moisture that has already absorbed into materials: drywall, subfloor, framing, insulation, and concrete. This requires:
- Commercial dehumidifiers (drawing moisture from the air column as materials release it)
- Air movers positioned to maximise surface evaporation rates
- Thermal imaging and pin moisture meters to map hidden saturation inside walls and under flooring
- Daily moisture readings to track drying progress against defined target values for each material class
Drying timelines depend on construction type and initial moisture load. A standard residential drywall-and-wood-frame structure typically reaches drying goals within 3–5 days. Concrete slab, tile over mortar bed, or multi-layer flooring systems can run 7–10 days or longer.
Step 6: Assess What Is Salvageable
Not everything that got wet needs to be thrown away – and not everything that looks dry is salvageable. The determination requires moisture readings, not visual assessment.
Generally salvageable with proper drying:
- Hardwood flooring (if dried within 24–48 hours and cupping is not severe)
- Solid wood furniture and cabinetry (if not submerged)
- Tile flooring over mortar bed (if the mortar can be fully dried)
- Most structural framing (unless contaminated or structurally compromised)
Generally not salvageable:
- Drywall that contacted Category 3 (black) water – must be cut out regardless of appearance
- Fibreglass batt insulation – absorbs and retains contamination; never salvageable after black water contact
- Carpet and underlayment after Category 3 exposure
- Particleboard and MDF cabinetry after any significant water exposure
Your restoration contractor should provide a written scope of work that specifies what is being saved, what is being demolished, and why – before any demolition begins.
Step 7: Test Before You Rebuild
The most common post-restoration mistake is beginning rebuild work before the structure is confirmed dry. Trapping residual moisture behind new drywall or flooring is how mold appears 3–6 months after a “completed” restoration and triggers a second, often larger, claim.
Before any rebuild work begins, insist on:
- A final moisture clearance reading from your restoration contractor confirming all materials are at or below target moisture content
- A written drying completion certificate
- Air quality or surface sampling if any visible mold was present during the remediation phase
Only when these documents are in hand should your general contractor begin any finishing work.
Step 8: Address the Source Permanently
Restoration fixes the damage. It does not fix what caused it.
After the restoration is complete, identify and permanently address the failure point:
- Burst pipe: have a licensed plumber inspect the full line and assess whether age or water quality has compromised other sections
- Appliance failure: replace the supply line and inspect the appliance connection points
- Roof or window intrusion: engage a licensed roofing or window contractor for a full envelope assessment
- Sewer backup: have the drain line scoped with a camera to identify root intrusion, offset joints, or grease buildup
- Slab leak: full plumbing assessment of the under-slab system
Skipping this step means the same event will happen again – often in the same location.
A Note on Climate and Regional Differences
One thing 15 years in the Hollywood market has taught us: water damage response is not one-size-fits-all. Southern California’s dry climate, stucco-and-wood-frame construction, and specific flood patterns (heavy rain after long dry periods, hillside erosion, mudslide water intrusion) create a restoration environment that is genuinely different from the rest of the country.
Homeowners in other regions face their own distinct challenges. The Great Lakes states deal with freeze-thaw pipe failures and lake-effect basement flooding. The Southeast contends with hurricane surge and subtropical mold windows. The Pacific Northwest handles chronic, slow-onset moisture intrusion from sustained rainfall.
The fundamentals in this checklist apply everywhere. The timelines, material responses, and specific risks vary by market. Work with a restoration contractor who understands your region’s specific conditions – not just the general IICRC protocol.
Wise Tools Water Damage Restoration serves Hollywood, CA and surrounding communities with 24/7 emergency response, flood extraction, structural drying, sewage cleanup, and mold remediation. IICRC-certified. Licensed and insured.
Call: (323) 996-7694
Leave a Reply